【ESP8266教程】零知WIFI教程-OTA升级 浏览器更新固件示例
一、概述
OTA作为ESP8266的常用固件更新方法,在产品需要更新固件时候是非常重要的,在这里演示通过浏览器更新固件的方法。
二、软件和硬件:
硬件我们本次使用零知-ESP8266; 软件使用零知开发工具,自带示例
三、代码
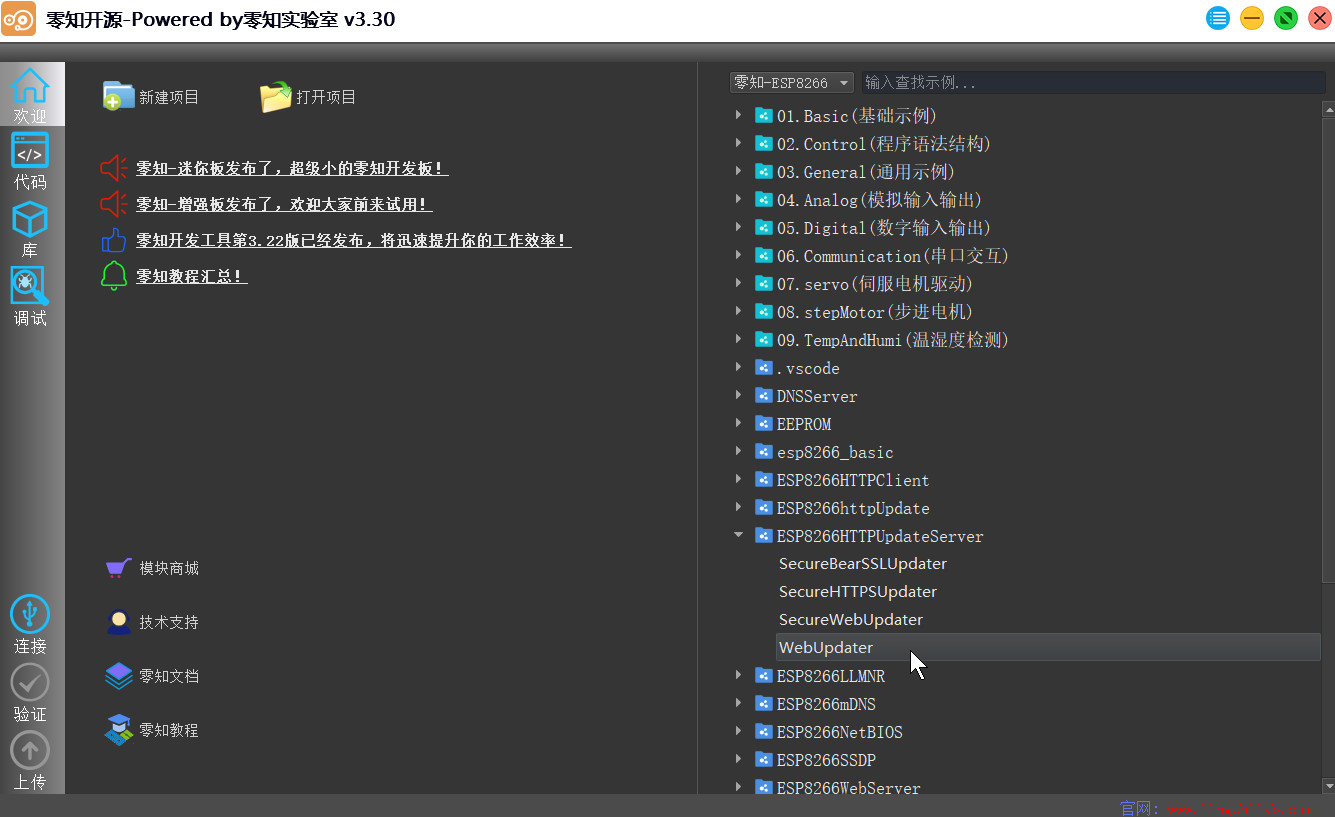
先在零知开发工具中打开WebUpdate示例,或者复制下面的代码到零知开发工具中:
/**********************************************************
* 文件: x.ino by 零知实验室([url]www.lingzhilab.com[/url])
* -^^- 零知开源,让电子制作变得更简单! -^^-
* 时间: 2019/05/28 12:22
* 说明: webupdate server
************************************************************/
/*
To upload through terminal you can use: curl -F "image=@firmware.bin" esp8266-webupdate.local/update
*/
#include <ESP8266WiFi.h>
#include <WiFiClient.h>
#include <ESP8266WebServer.h>
#include <ESP8266mDNS.h>
#include <ESP8266HTTPUpdateServer.h>
#ifndef STASSID
#define STASSID "ssid"
#define STAPSK "passwd"
#endif
const char* host = "esp8266-webupdate";
const char* ssid = STASSID;
const char* password = STAPSK;
ESP8266WebServer httpServer(80);
ESP8266HTTPUpdateServer httpUpdater;
void setup(void) {
Serial.begin(115200);
Serial.println();
Serial.println("Booting Sketch...");
WiFi.mode(WIFI_AP_STA);
WiFi.begin(ssid, password);
while (WiFi.waitForConnectResult() != WL_CONNECTED) {
WiFi.begin(ssid, password);
Serial.println("WiFi failed, retrying.");
}
Serial.println("");
Serial.print("Connected to ");
Serial.println(ssid);
Serial.print("IP address: ");
Serial.println(WiFi.localIP());
MDNS.begin(host);
httpUpdater.setup(&httpServer);
httpServer.begin();
MDNS.addService("http", "tcp", 80);
Serial.printf("HTTPUpdateServer ready! Open http://%s.local/update in your browser\n", host);
}
void loop(void) {
httpServer.handleClient();
MDNS.update();
}
验证并上传程序代码到零知-ESP8266开发板;
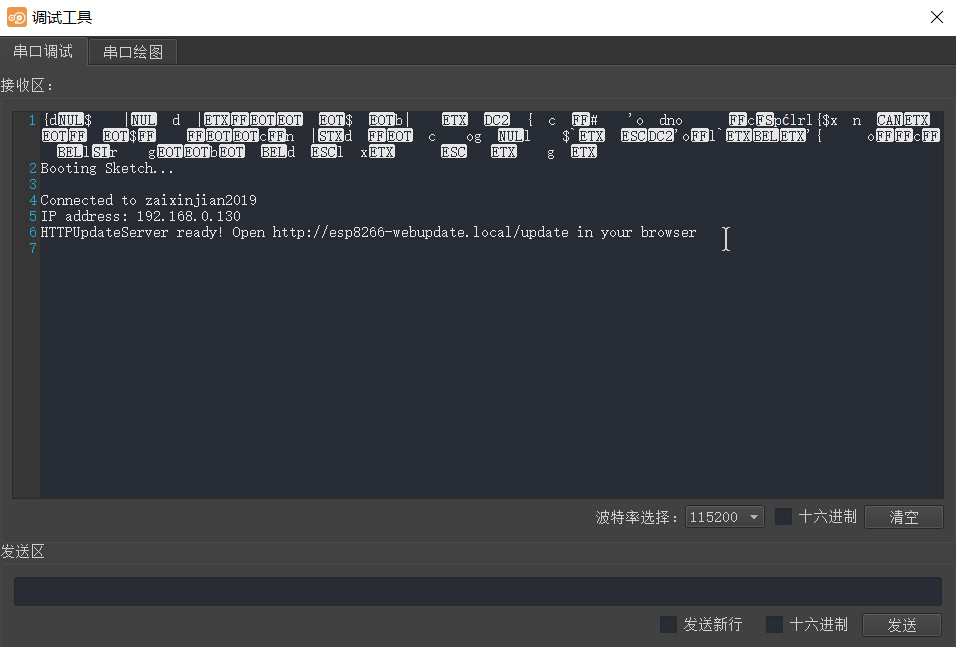
在零知-开发工具中打开串口调试窗口,可以看到如下信息:
在浏览器里面打开:http://esp8266-webupdate.local/update
然后就可以看到如下界面:
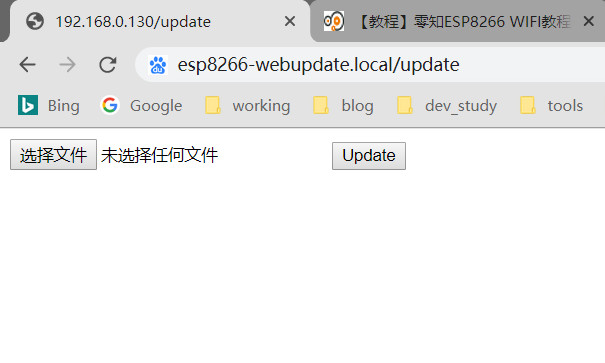
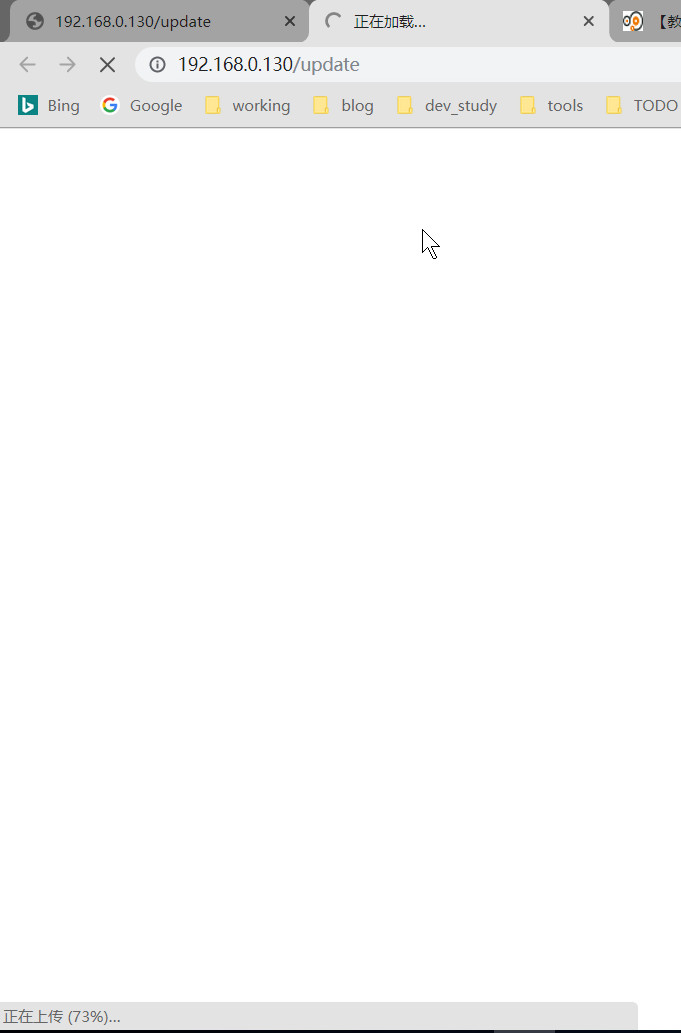
我们在这里选择文件,选择自己要更新的固件,然后点击“update”按钮,就可以看到开始更新固件:
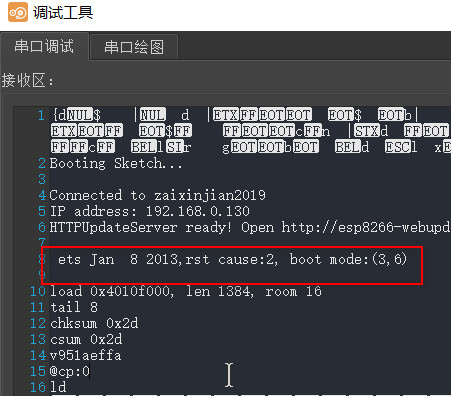
然后更新完毕后,显示如下:
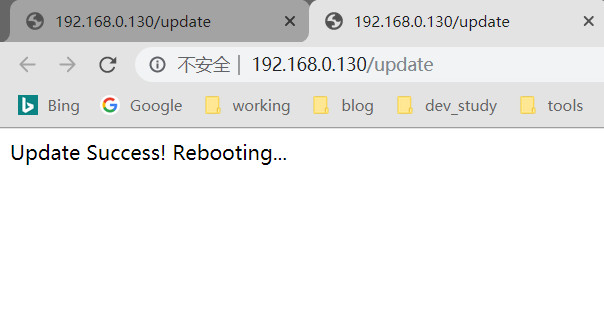
同时在串口调试串口显示重启信息,新的固件开始运行: