零知开源快速入门29-4x4矩阵键盘实验
本实验演示矩阵键盘的使用,该键盘16个按键。
一、工具原料
电脑,windows系统
零知开发板
micro-usb线
矩阵键盘4X4
二、硬件连接
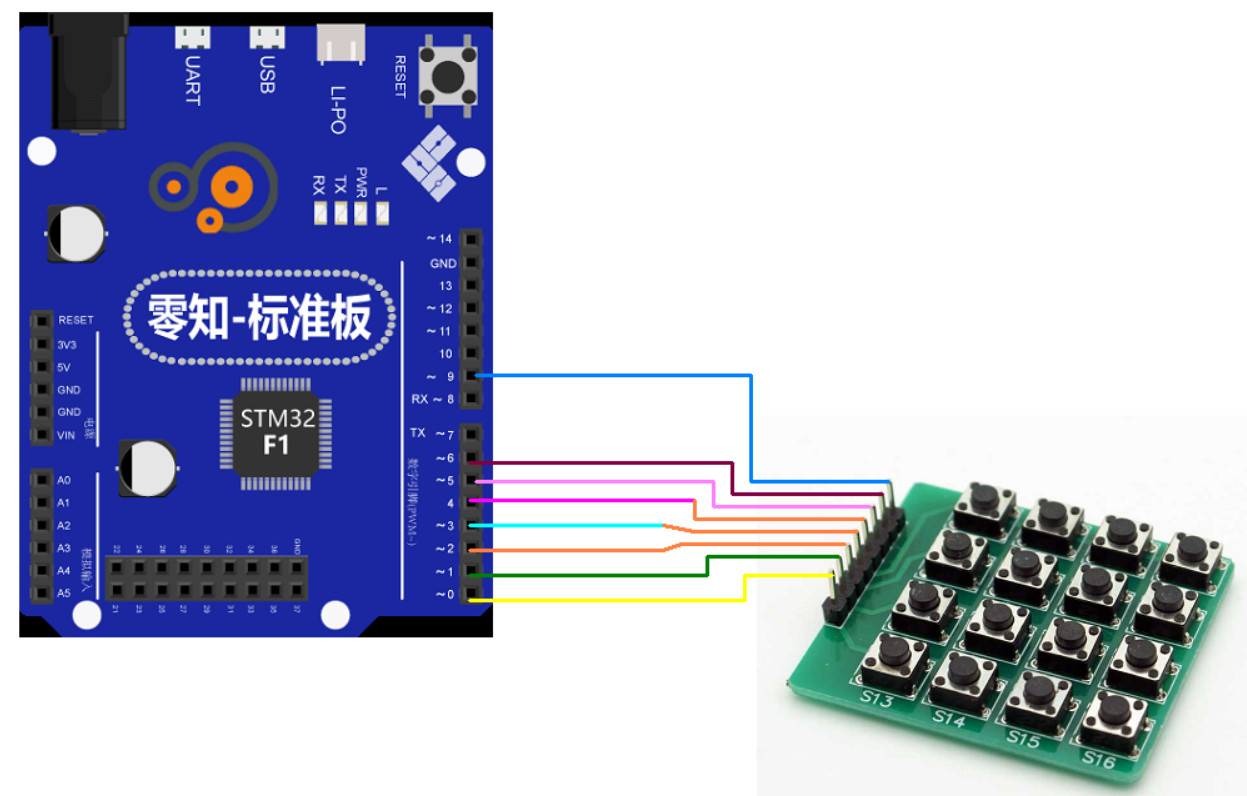
1、硬件连接示意图
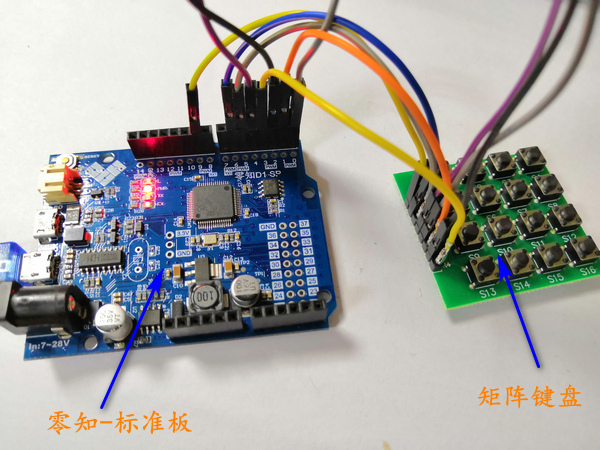
2、实际连接
三、方法步骤
1、打开零知实验室软件开发工具,然后新建项目,输入以下代码:
2、按照之前的方式先【编译】,然后【上传】到开发板中。
#include "Keypad.h"
const byte ROWS = 4; //four rows
const byte COLS = 4; //four columns
//define the cymbols on the buttons of the keypads
char hexaKeys[ROWS][COLS] = {
{'0','1','2','3'},
{'4','5','6','7'},
{'8','9','A','B'},
{'C','D','E','F'}
};
//connect to the row pinouts of the keypad
//R1,R2,R3
byte rowPins[ROWS] = {0, 1, 2, 3};
//connect to the column pinouts of the keypad
byte colPins[COLS] = {4, 5, 6, 9};
//initialize an instance of class NewKeypad
Keypad customKeypad = Keypad( makeKeymap(hexaKeys), rowPins, colPins, ROWS, COLS);
void setup(){
Serial.begin(9600);
}
void loop(){
char customKey = customKeypad.getKey();
if (customKey){
Serial.println(customKey);
}
}
四、成果展示
将上述代码验证后上传到零知板,就可以看到测试结果了。

完整的工程代码: CustomKeypad.7z